DIY Guide: Inspecting Your Roof Safely and Effectively


Introduction to Roof Inspection
Regular roof inspections are crucial in maintaining the integrity of your home. By identifying potential problems early, you can save money on extensive repairs. However, safety should always be your top priority when performing a DIY roof inspection. In this guide, we'll explore how you can inspect your roof safely and effectively.
Before you begin, ensure you have the necessary equipment, including a sturdy ladder, gloves, and non-slip shoes. It's also advisable to have someone with you to help hold the ladder steady. Never attempt a roof inspection alone.
Preparing for the Inspection
Check the Weather
Always perform roof inspections during dry weather conditions. Wet roofs are slippery and can lead to dangerous falls. Check the weather forecast and choose a sunny day for your inspection.
Inspect from the Ground First
Before climbing onto your roof, conduct a visual inspection from the ground. Look for any visible signs of damage such as missing shingles, sagging areas, or debris buildup. These observations will give you an idea of what to pay attention to once you're on the roof.

Climbing Safely
Use Proper Ladder Safety
Ensure your ladder is placed on a stable surface and angled correctly—about 75 degrees is ideal. Secure the ladder by having someone hold it steady while you climb. Always maintain three points of contact with the ladder.
Be Mindful of Your Surroundings
Once on the roof, move slowly and carefully. Watch out for weak spots that may indicate structural damage. Avoid walking on steep or overly sloped areas, as this increases the risk of slipping.

Conducting the Inspection
Examine Shingles and Flashing
Check for any cracked, curled, or missing shingles, as these can lead to leaks. Pay special attention to the flashing around chimneys and vents, ensuring they are not damaged or loose.
Look for Signs of Water Damage
Inspect for any signs of water pooling or stains, which could indicate leaks. Check gutters for granules, as excessive granule loss can be a sign that shingles are deteriorating.

Post-Inspection Actions
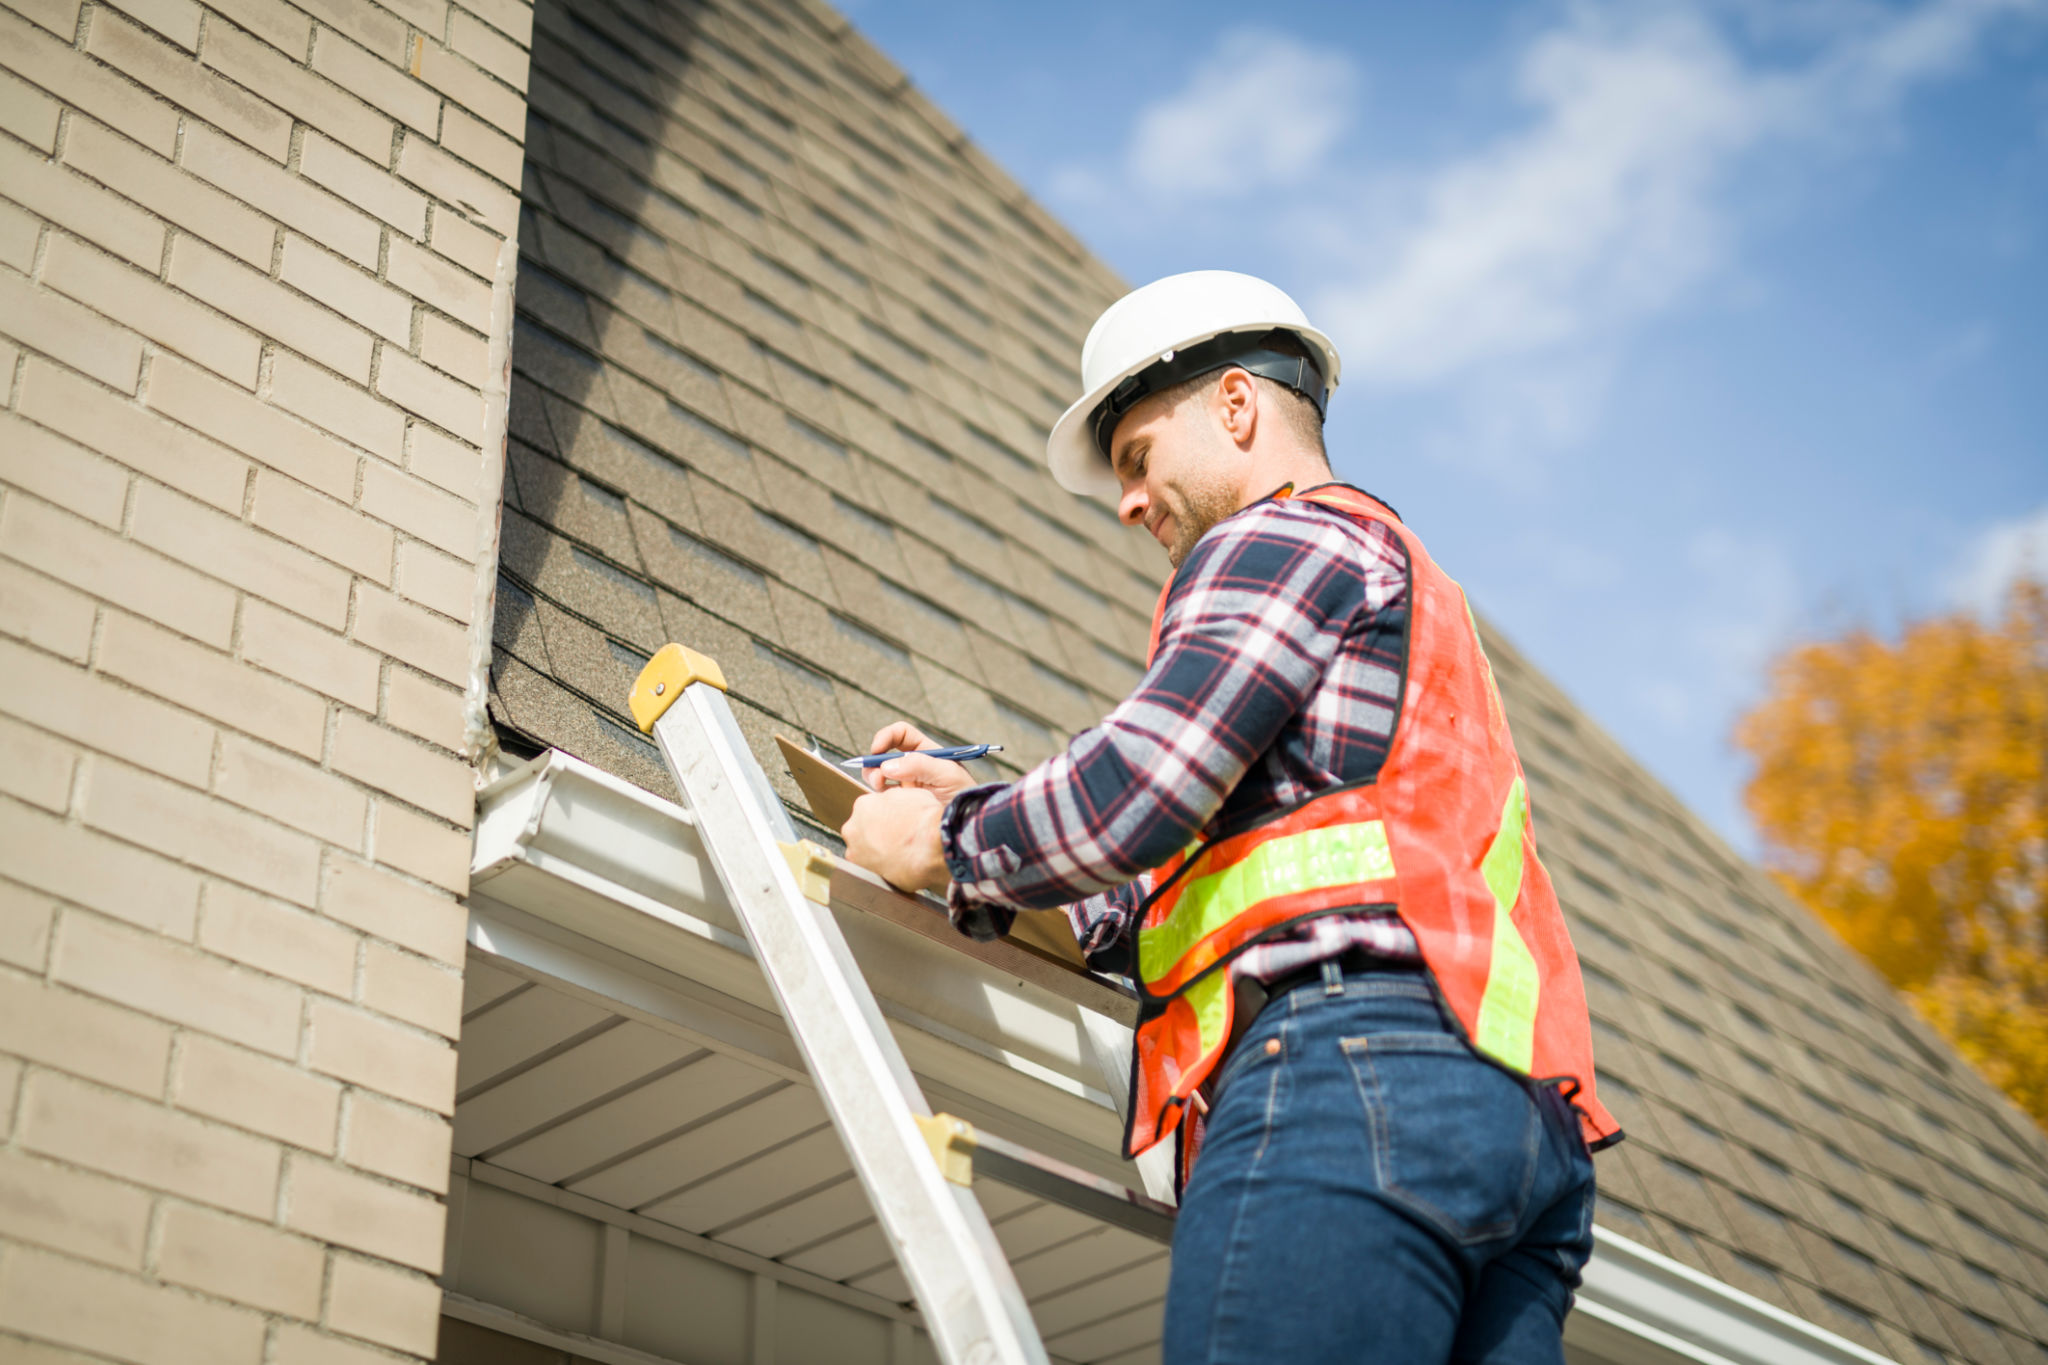
Document Findings
Take notes and photos of any issues you find during your inspection. This documentation will be helpful if you decide to hire a professional for repairs.
Plan for Repairs
If you notice significant damage or if repairs are beyond your skill level, it's wise to consult with a professional roofer. Addressing small issues promptly can prevent more extensive damage and costly repairs in the future.
By following these steps, you can ensure that your DIY roof inspection is both safe and effective. Regular monitoring will protect your home and extend the lifespan of your roof.
