DIY Gutter Inspection: How to Spot Problems Before They Start


Understanding the Importance of Gutter Maintenance
Gutters play a crucial role in protecting your home from water damage by channeling rainwater away from the foundation. Regular maintenance is essential to ensure they function properly. Neglecting your gutters can lead to serious issues like leaks, mold growth, and even structural damage to your home. Conducting a DIY gutter inspection can help you spot problems before they escalate, saving you time and money in the long run.

Gather Your Tools
Before you begin your inspection, make sure you have the right tools on hand. A sturdy ladder, a pair of gloves, a garden trowel, and a bucket are essential for cleaning out debris. Additionally, a hose can be useful for flushing out remaining dirt and checking for leaks. Having these tools ready will make the inspection process smoother and more efficient.
Inspect for Debris and Blockages
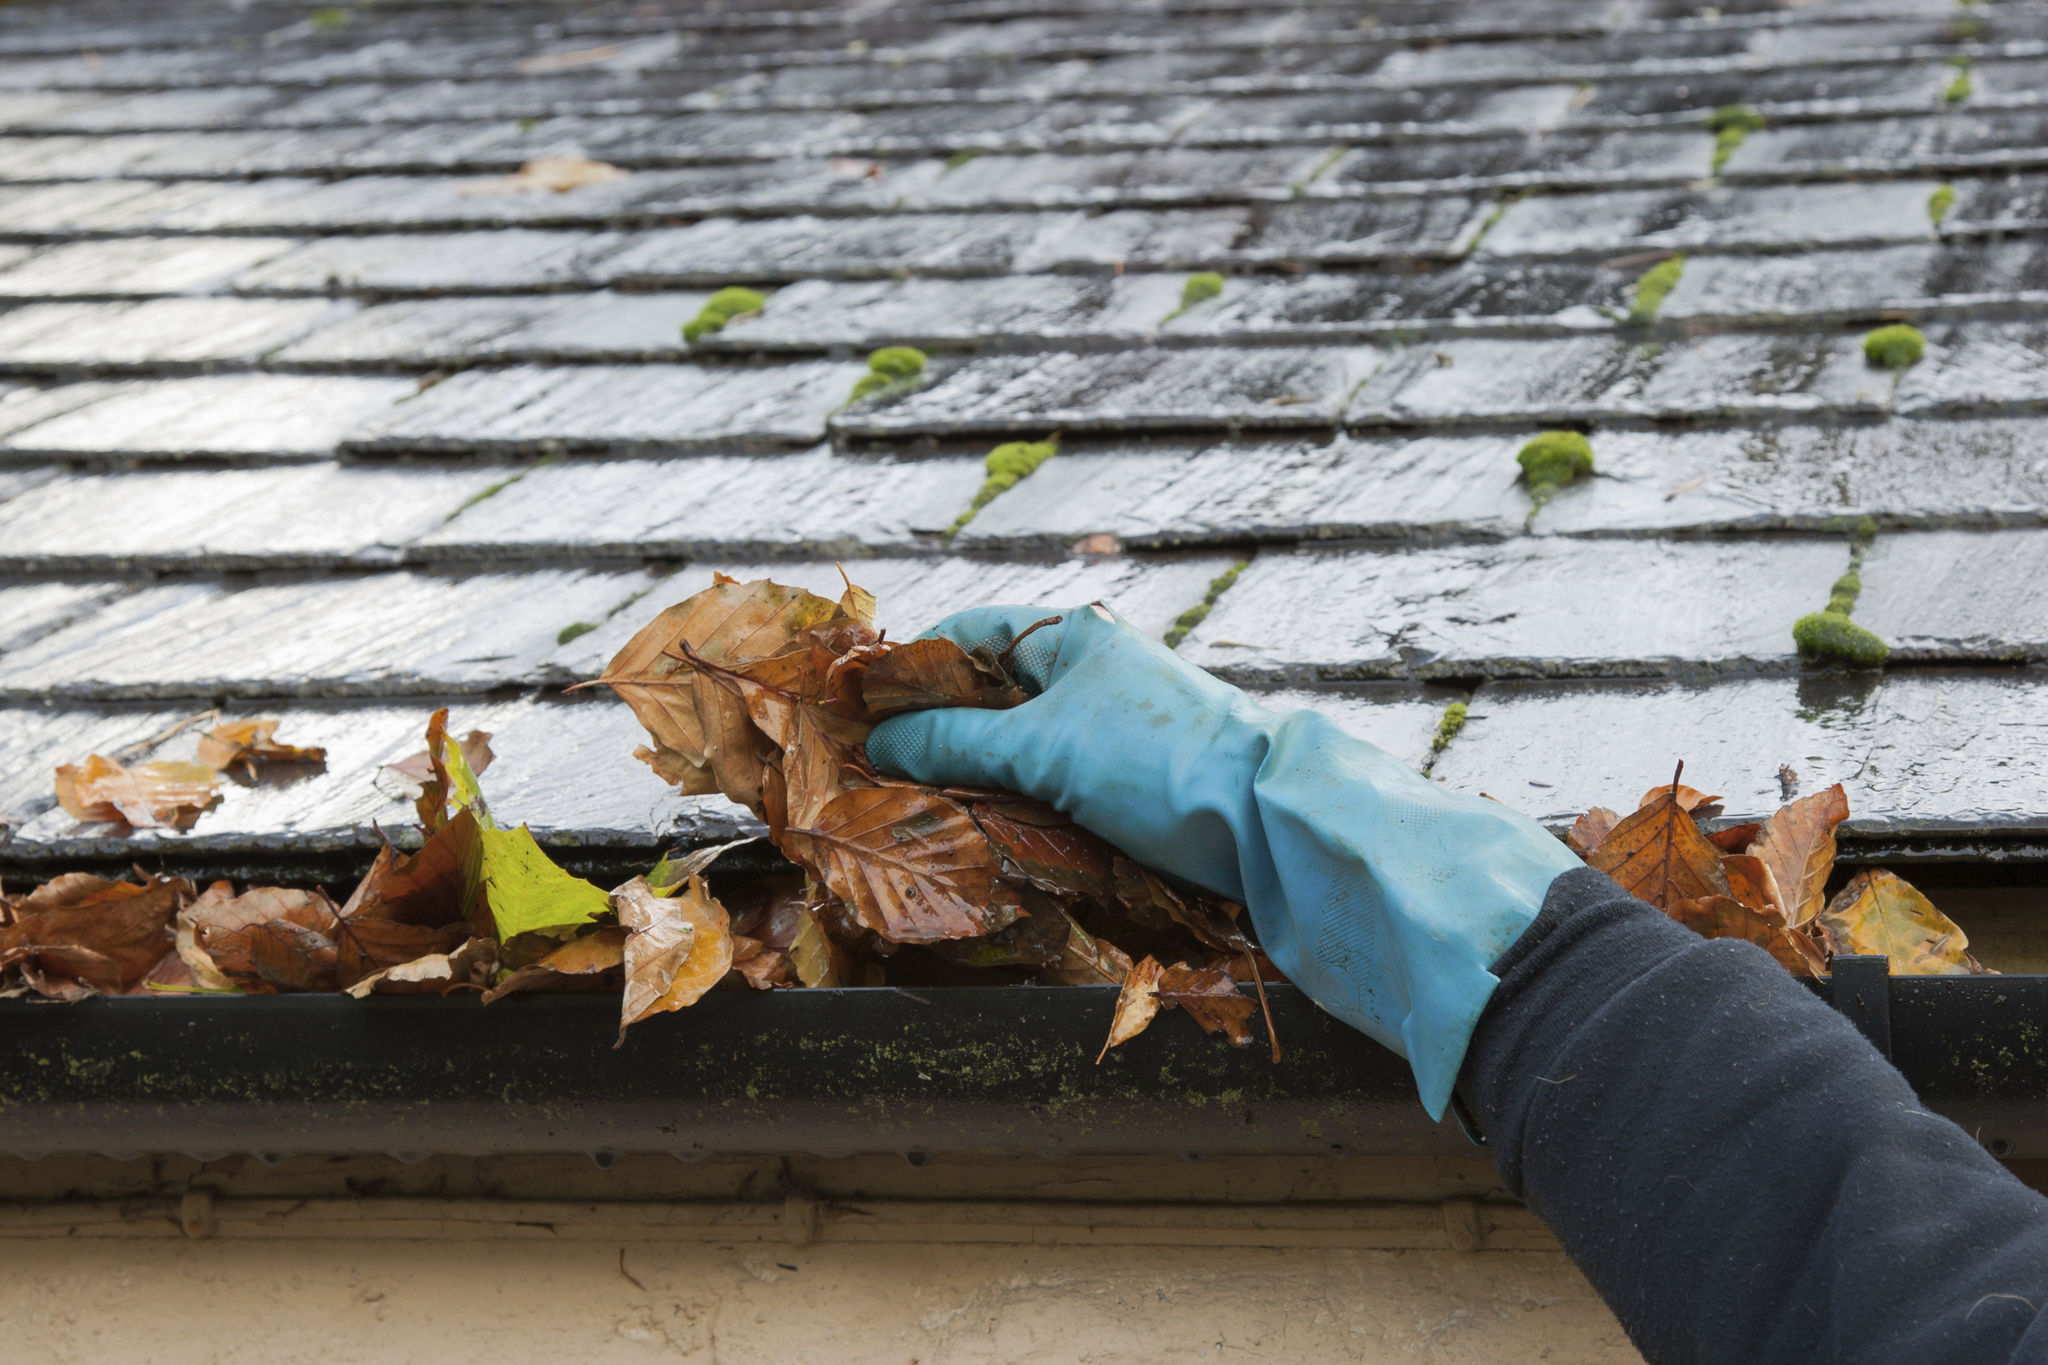
The first step in a successful gutter inspection is to look for debris and blockages. Leaves, twigs, and other debris can accumulate in your gutters over time, causing clogs that prevent proper water drainage. Use your gloved hands or a trowel to scoop out the debris and deposit it into the bucket. Pay close attention to downspouts, as these are common areas for blockages.

Check for Leaks and Holes
After clearing out the debris, it's time to inspect your gutters for leaks and holes. Leaks can occur at the joints or seams of the gutter system. To test for leaks, use a hose to run water through the gutters and watch for any dripping underneath. Small holes can often be patched up with gutter sealant, but larger issues might require professional repair.
Evaluate Gutter Alignment
Proper alignment is crucial for effective water drainage. Over time, gutters can become misaligned due to weather conditions or structural shifts in your home. Check that the gutters are sloped slightly towards the downspouts to facilitate water flow. If they are not, you may need to adjust the hangers or brackets to restore alignment.

Inspect the Downspouts
Downspouts are an integral part of your gutter system, directing water away from your home’s foundation. Ensure that they are securely attached and free of obstructions. If you notice any blockages, use a plumber’s snake or a high-pressure hose to clear them. It’s also important to check that downspouts extend at least six feet away from your home to prevent water from pooling near the foundation.
Look for Signs of Sagging
Sagging gutters are a common problem that can lead to improper drainage and water pooling. This issue is often caused by the weight of debris or standing water. Examine the gutters for any sagging sections and tighten or replace hangers if necessary. Ensuring that your gutters are securely attached will help prevent future sagging and potential water damage.
Consider Seasonal Maintenance
Regular seasonal maintenance can significantly prolong the life of your gutter system. Aim to inspect and clean your gutters at least twice a year—preferably in the spring and fall. During these inspections, also check for any signs of rust or corrosion, especially if your gutters are made of metal. Addressing these issues early can prevent more extensive damage down the line.
By incorporating these simple DIY inspection steps into your home maintenance routine, you can ensure that your gutters remain in optimal condition year-round. Not only will this help protect your home from potential water damage, but it will also save you money on costly repairs in the future. Remember, proactive maintenance is always better than reactive repair!